Why Upgrade Your Insulation
/When it comes to energy-efficient renovations, an often overlooked home upgrade is insulation. While replacement windows and high-efficiency furnaces receive much of the attention, it’s important to remember that improving the attic, wall and basement insulation of your home can provide a lot of value for your investment!
Recently, we completed a home upgrade in Kelowna, BC, that offered an opportunity to showcase the process of upgrading insulation. Typical of older homes, this property has very little to no insulation. Built in the 1940’s, this bungalow style home with raised crawl space contains a tar paper air barrier, ship lap construction with lath and plaster walls. The only insulation to be found is wood shavings in the walls and ceilings
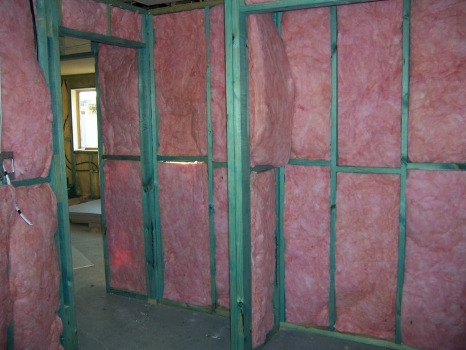
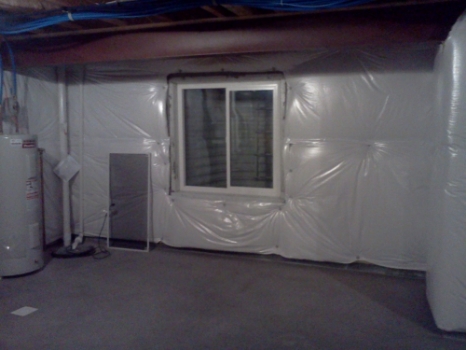
To start, we upgraded the insulation in the crawl space. Generally homeowners don’t think of their basement or crawl space as a prime source of heat loss, yet basements can account for 20 to 30 per cent of a home’s total.
The steps we’ve taken to insulate the basement are:
1) A moisture barrier (polyethylene 6-ml) is installed on the cold side of your insulation and serves to protect the insulation from water and moisture coming in from the outside wall.
2) Install batt insulation between the studs next to the moisture barrier.
3) A vapour barrier is installed on the warm side of the insulation. It serves to keep moisture in your home from penetrating into the wall cavity.
4) Wall covering such as gyproc or wallboard is used to finish the wall.
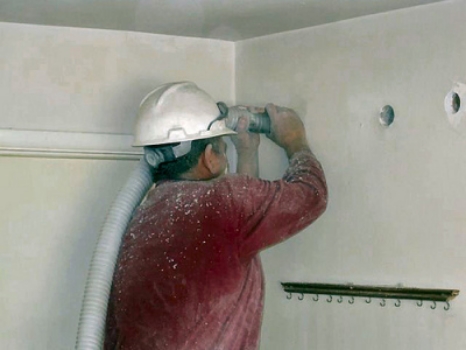
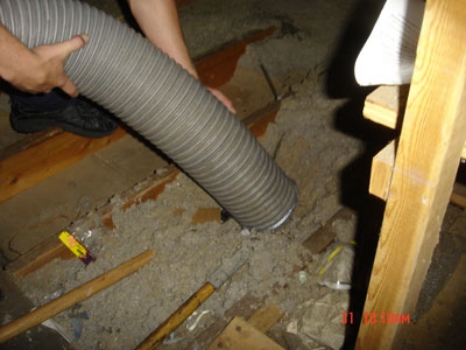
Next up, we’re insulating the walls using blown-in insulation. Blown-in insulation should be done by an experienced contractor since it requires the use of special pressurized equipment, which significantly reduces the amount of settling of loose-fill insulation after installation. The contractor must ensure each cavity is filled with insulation. The steps we’ve taken to insulate the walls are:
1) Identifying cross blocking (fire-stops) in the walls, and ensuring that holes are drilled to give access to all spaces in the walls.
2) Filling hollow corner posts, overhangs and other odd spots
3) After final inspection, making sure the drill holes are filled with cork and high-quality exterior caulking.
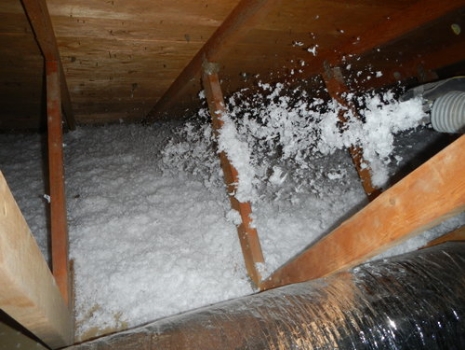
Finally, we turned our attention to the attic insulation which is typically the easiest and most cost effective way to make your home more efficient. The amount of insulation you can install in your attic is determined by the size of the joists and whether or not your attic has a floor. A settle density of R-32 to R-40 is preferable in most instances, but is not always possible. In the case of the Kelowna residence, we used loose-fill insulation and the steps we’ve taken to complete the attic insulation are:
1) Loose-fill insulation is poured on top of the air barrier and vapor barrier. It’s leveled out to maintain an even depth.
2) Pour the insulation to fill all nooks and crannies.
3) At the eaves, we take care to keep the insulation from blocking the ventilation of from disappearing into the eaves space.
4) We’re careful not to insulate to closely around flue pipes and gas vents
5) We make sure to seal the attic hatch.
In closing, keeping your home heated is difficult, particularly in Canada, where we live in a colder climate. Remember, heating costs account for more than 50 per cent of the energy used in your home, therefore, adding insulation will improve the comfort of your house and give you more value for your energy dollar.
